


Birding
How to Start Birdwatching in the UK: A Beginner's Guide to Kit, Etiquette and First Trips
September 12, 2026
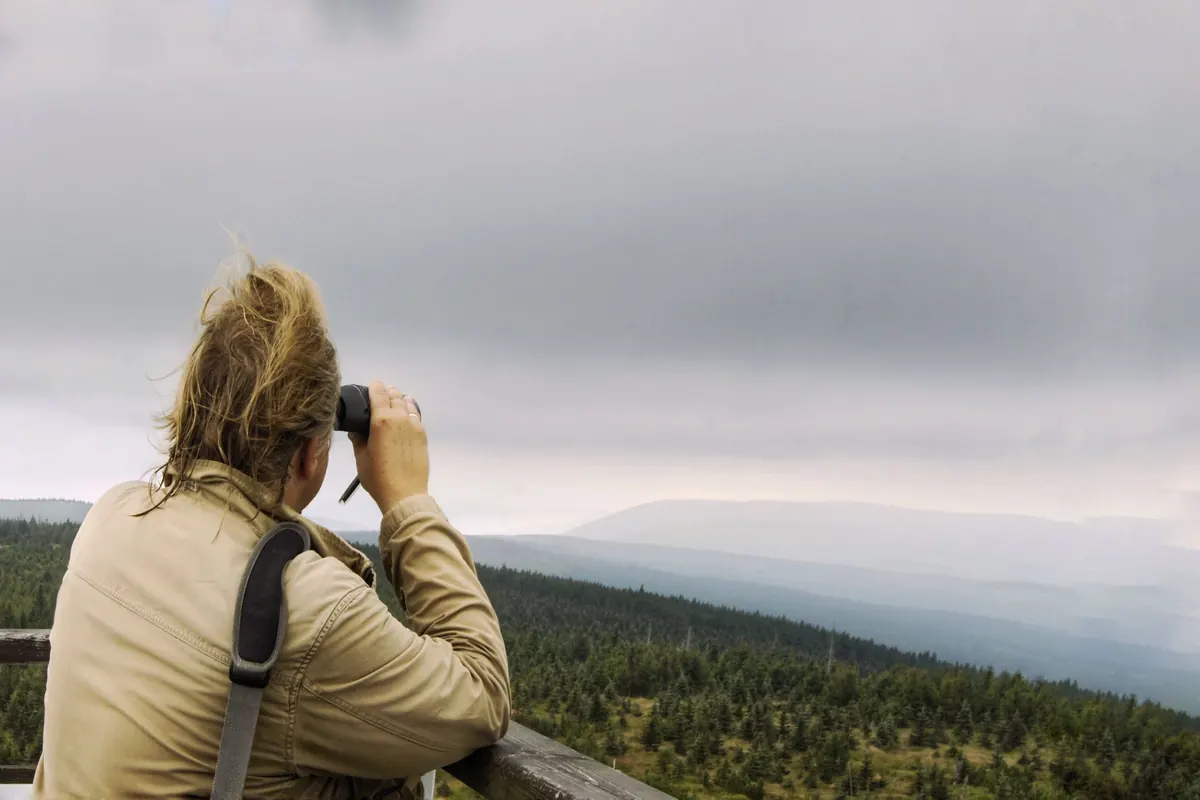
Most people come to birdwatching sideways. A friend lends you a pair of binoculars. A sparrowhawk lands on the fence and stays long enough to be properly looked at. Something in the hedge sings, and you want to know what it is.
That curiosity is the whole hobby. You don't need expensive kit, a life list, or any idea what you're doing yet. You need binoculars you'll actually carry, a way of looking things up, and two or three places you can visit often. The rest arrives by itself, mostly through repetition.
Binoculars: buy less, carry more
For general British birding, an 8x42 or 8x32 roof-prism binocular is the sensible default. The 8 is magnification; the 42 is the diameter of the front lens in millimetres. Larger numbers gather more light but add weight and bulk. Ten-power models sound superior on paper and are noticeably harder to hold steady for long, which matters when you're trying to separate two brown warblers in a swaying hedge.
A sound mid-range pair beats a cheap high-power pair every time, and second-hand is a perfectly good route if you can handle the binoculars before parting with money. Optics days at reserves let you try several pairs against real birds, which is worth far more than reading specifications.
When you do get your hands on a pair, check the basics:
- Grip and reach: does it sit comfortably in your hands, and can your index fingers find the focus wheel without shuffling?
- Focus: one wheel that runs from close to far in less than a full turn is easier than a slow, stiff one.
- Eye relief: if you wear glasses, look for folding or twist-down eyecups and enough eye relief to see the full circle, not a tunnel.
- Weight: hold them up for two minutes. That is the real test, not the first five seconds.
- Backing: a long warranty and a UK service address matter if you plan to keep them for years.
Keep them near the door with the strap adjusted and a rainguard on. Add a small notebook and a pencil, which beat a phone screen in the rain.
A field guide you'll actually use
Start with one paper guide — the Collins Bird Guide or the RSPB Handbook of British Birds are the usual picks — and resist reading it cover to cover. Use it after you've watched the bird, not instead of watching it. Note what you saw in this order: size and shape, then what it was doing and where, then colour, then bill and leg colour. That routine narrows a mystery bird quickly and teaches you to look properly.
Apps are a useful second opinion. Sound identification tools help enormously in summer, when half the birds you hear are hidden in leaf. Treat any suggestion as a prompt to check, not a confirmed record. BirdTrack, run by the British Trust for Ornithology, is a straightforward place to log what you see, and downloading maps or checklists before you leave saves battery and signal later.
Where to go on your first trips
You do not need a famous reserve. Five kinds of place will carry you through your first year:
- Your garden, however small. A window feeder and ten minutes with a cup of tea is genuine birding.
- A local patch — a park, a cemetery, a canal towpath, the scrubby edge of an allotment.
- A reserve with a hide, run by the RSPB, a Wildlife Trust or the Wildfowl and Wetlands Trust. Hides let you watch without approaching anything.
- An estuary or reservoir in winter, where wildfowl and waders gather. A rising tide pushes birds closer to the shore.
- Woodland and hedgerow in spring, when everything is singing at once.
Go early if you can — the first couple of hours after dawn are the busiest. And go to the same two places often. Familiarity with one hedge teaches you more than a tour of six counties.
Watching without disturbing
Good fieldcraft is mostly restraint. Binoculars exist so that you don't have to walk closer, so stop, look, and only then decide whether to move. Stay on paths and keep out of field margins and reedbeds; those rank, untidy patches are where nests are.
Never flush a roost, particularly in cold weather or at high tide, when waders and wildfowl have limited energy to spare. Use recorded calls sparingly, and not at all for scarce breeding species in spring and summer: disturbing nesting birds is an offence, and the rarer the bird, the more damage a single careless visit can do. If you're unsure whether a sighting is sensitive, ask your county bird recorder before posting it.
Keep dogs on a lead where ground-nesting birds or livestock are around, take litter home, and leave gates as you find them. The Countryside Code covers most of this in a page.
One practical note: long grass means ticks. Check yourself when you get home, and if you find an attached tick or a rash appears afterwards, speak to a pharmacist or your GP.
Learning to look, not just to identify
Identification follows observation. Get into the habit of describing what a bird is doing: does it feed on the ground or in the canopy, does it flick its tail, does its flight bound up and down or run straight? Watch a woodpigeon for five minutes and it will teach you more about posture than any illustration.
Sound is just as useful. Learn a handful of calls properly — the chiffchaff saying its own name, a great tit's two-note song, a robin's tumbling phrase — and the hedges will start telling you what's in them. Write down the date, the weather and what the bird was doing. After a year that notebook is a guide to your patch that nobody else owns.
Your first month, step by step
- Week one: twenty minutes a day, watching from a window or standing still in a park. No binoculars required.
- Week two: borrow or buy one pair and practise on big, slow, close birds — woodpigeon, mallard, crow.
- Week three: spend an hour in a hide at a local reserve. Take the notebook and write down anything you can't name.
- Week four: join a group walk run by your local bird club, or submit a few records to BirdTrack.
Expect slow mornings. You will spend plenty of them seeing nothing unusual, and that is not failure — it is how you come to notice the day something is different. Winter is not a fallow season, either: bare trees make birds easier to see, and the visiting thrushes and wildfowl are worth the cold hands.
Keep the kit simple, keep the visits regular, and let your ears do half the work. There is no exam, and nobody is keeping score.
Photo: Ryszard Zaleski / Pexels
Related posts
More stories you’ll love reading